Using the Linkage Button

Here we will discuss the use of the Linkage Button in the ArcGIS Post Analysis Toolbar.
The linkage button is the Fourth object from the left on the toolbar. It looks like a green line connecting two black circles: . The point of this button is to carry out the Linkage Algorithm on a set of points to create lines between points that fall within the inputted range. The Linkage Algorithm is very simple: the user enters a low and high distance to create a range and the algorithm simply connects all points in the set that fall within that range of each other. The reason why this algorithm is used is that field archaeologists have identified a theory that Native American settlement structures are built using posts that are set at specified distances apart. Using this theory, a huge settlement that normally looks like a mess of holes in the ground can be digitized into an archaeology tool called ArcGIS and using this solution the user can automatically check different ranges to guess and check where structures were located.
Let's make some linkages!
At this point, the ArcGIS ArcMap program should have a layer that ends with "(centroids)" that consists of the output generated from the Centroid Button.
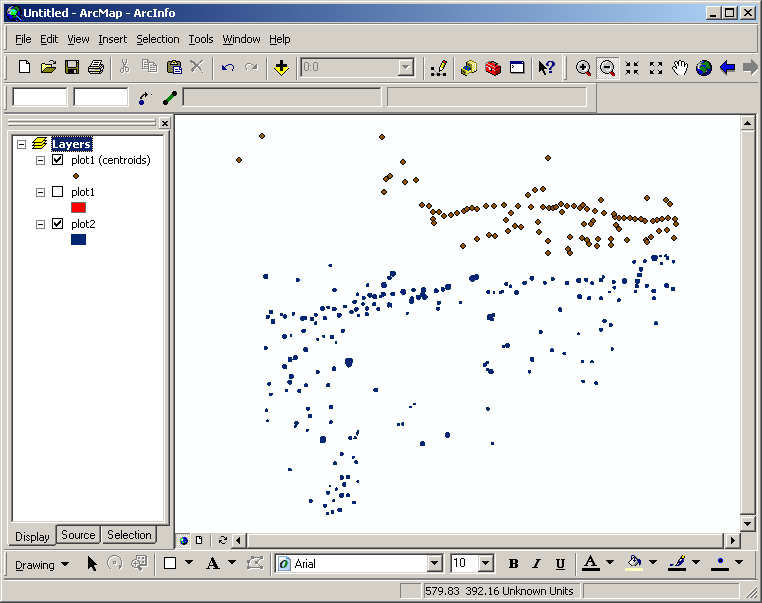
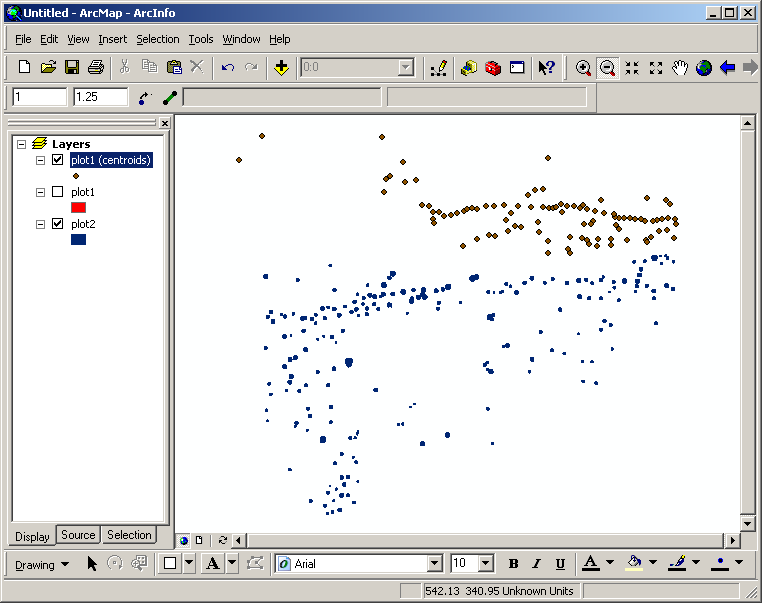
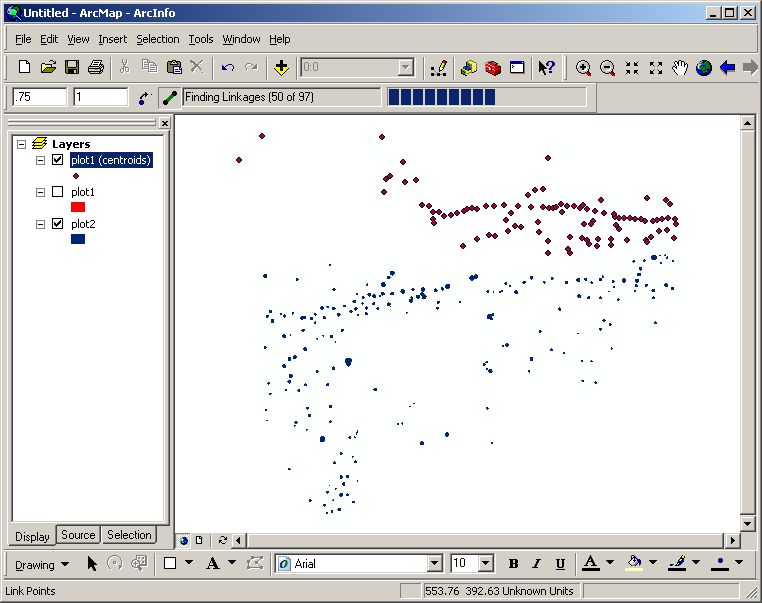
If the centroids layer is not already selected, select the centroids layer by highlighting the name of the layer in a blue outline as shown in the image below. At this point, it is necessary to enter a low and high distance in the input boxes shown in the tool bar as showen below. If you click the Linkages Button with invalid input it will display an error message and not run (invalid input being blank input, low value greater than high value, non-numeric input).
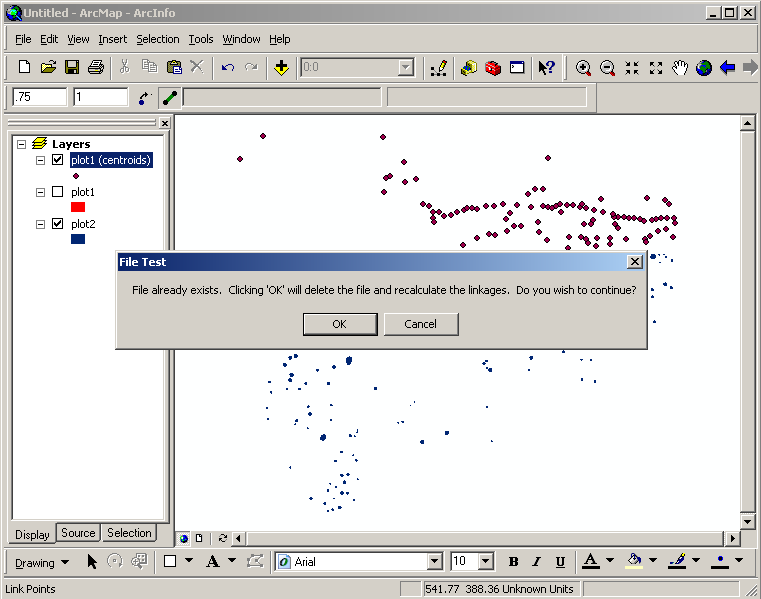
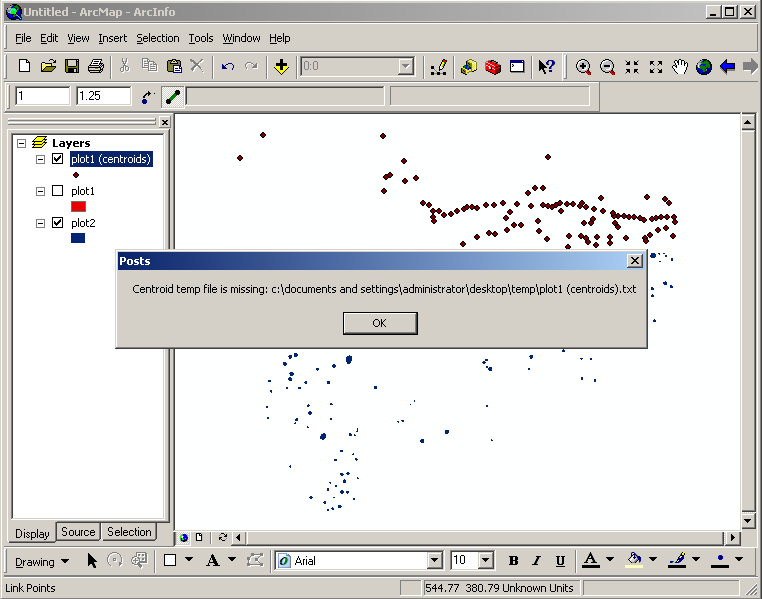
To start the calculation of linkages, click the Linkages Button and the toolbar will notify the user that a previously calculated layer may be deleted in order to recalculate. At this point it is possible to cancel the calculation, since the calculations can take a long time on certain input sets. The toolbar will also notify the user of errors at this point: non-point layer selected, centroid temporary file missing, etc.
Once you continue, the progress bar will begin to upate on every 25 centroids. At this point, ArcGIS will be unresponsive to input until the linkage calculations are complete - this is normal ArcGIS behavior.
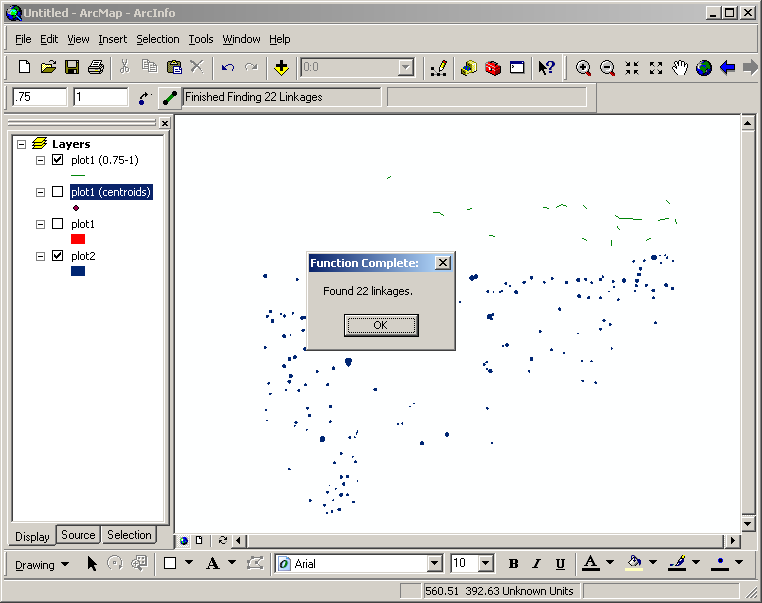
Once the linkages have been calculated, the new layer consisting of linkages will appear as a new layer with the suffix "(linkages x-y)" where 'x' and 'y' are the distances. The original centroids layer will be deselected at this point but may be made visible again by checking the box beside the layer name. Just before the toolbar returns control of ArcGIS to the user, a popup window notifies the user that all calculations are complete and the number of linkages that were created.
Troubleshooting:
If the centroid layer has not been created yet or the temporary file has been deleted, the Linkage Button will not proceed with the calculations. If this happens, it will be necessary to re-calculate the centroids layer as explained in the Centroid User Manual.
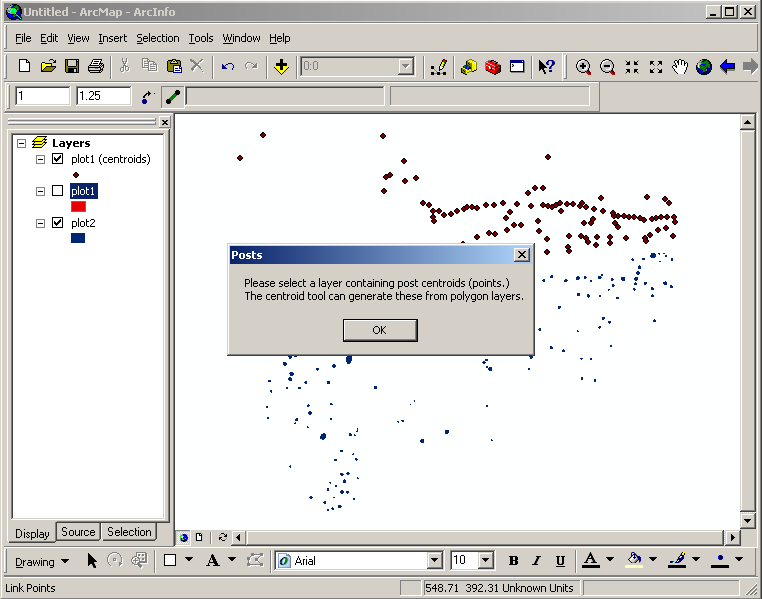
The Linkages Button will only work when a point layer is selected, so at times the user may receive an error notification that a point layer is not selected. To selected a point or centroids layer, hover over a point or centroids layer with the mouse and left click so that the name of the layer is highlighted in blue as showen below. Usually this error message only appears when the user wants to run linkages on a certain layer, but forgets to select it after playing with another layer.