Using the Centroid Button

Here we will discuss the use of the Centroid Button in the ArcGIS Post Analysis Toolbar.
The centroid button is the third object from the left on the toolbar. It looks like a blue circle with an arrow coming out of it and pointing to one black pixel: . The point of this button is to convert an entire polygon shapefile to a shapefile containing only the centroids of those polygons. A "centroid" is the mathematical term for the center of an object, calculated from points on its perimeter. There are many reasons one could have for calculating these, even though it was designed to help the archaelogical analyses of postholes.
Let's make some centroids!
First, let's look at the ArcGIS ArcMap program. Here we have the program, already booted up with our favorite plots (as well as the toolbar):
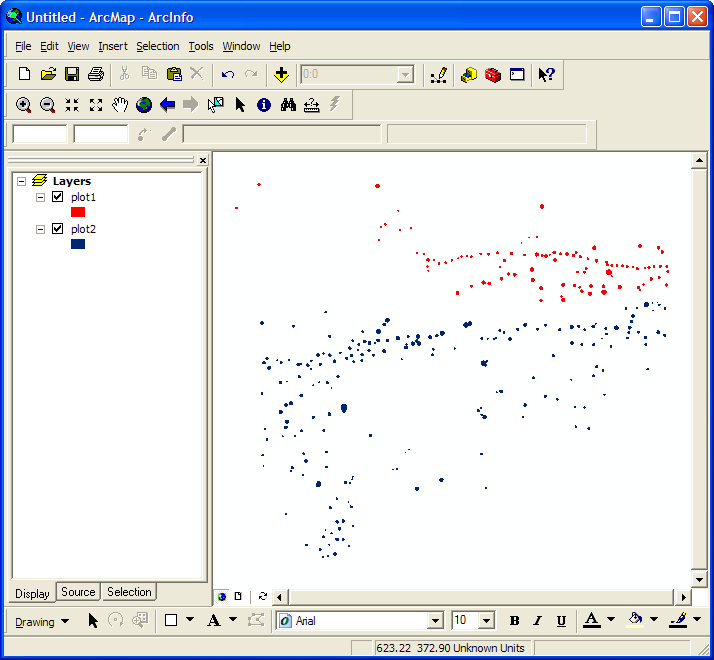
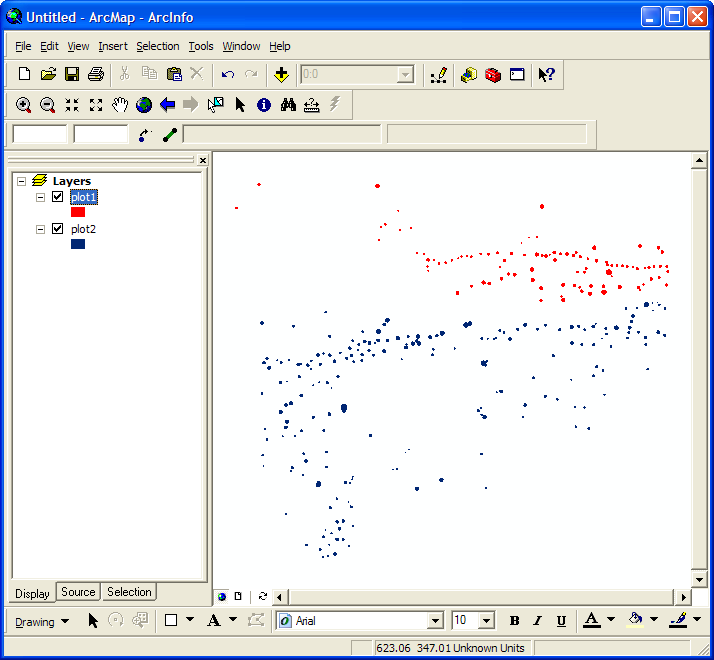
Notice that the Post Analysis Toolbar is greyed out. This is because there are no layers selected, and the toolbar works off of selected layers only. So why don't we go ahead and select a layer? Notice that the toolbar now comes into color and becomes clickable:
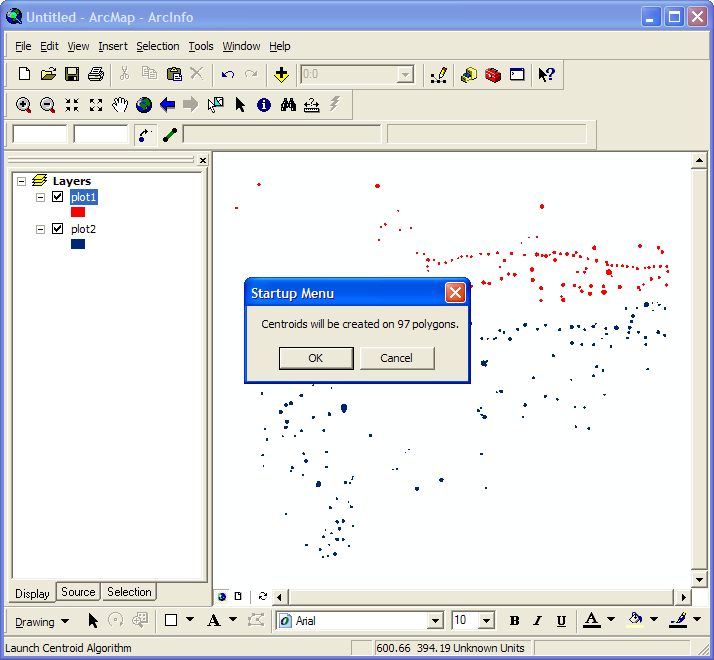
Starting the calculations is as simple as clicking the little centroid button. The toolbar then pops up a window to let you know the number of postholes(polygons) which will have their centroids calculated. This allows you to cancel out if you change your mind about wanting to press that button, for any reason (keep in mind that it takes roughly one minute to calculate every 200 centroids, and that you cannot do anything else in ArcGIS while these centroids are being calculated):
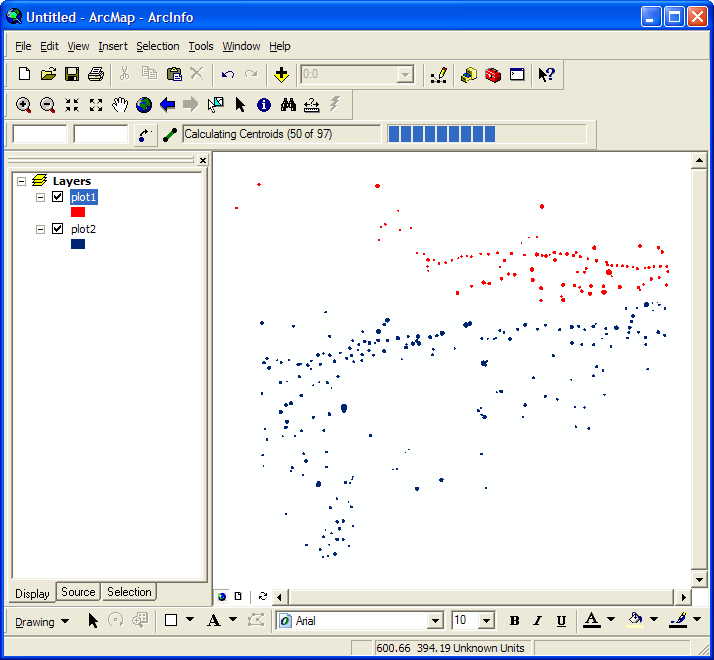
Once you continue, the progress bar will come alive! It will update every 25 centroids calculated, giving you accurate numerical and graphical information concerning the progress of your centroidizations. At this point, it is crucial to understand that ArcGIS is busy, hence you will not be able to do anything else in the program. It must sit and think until it is complete:
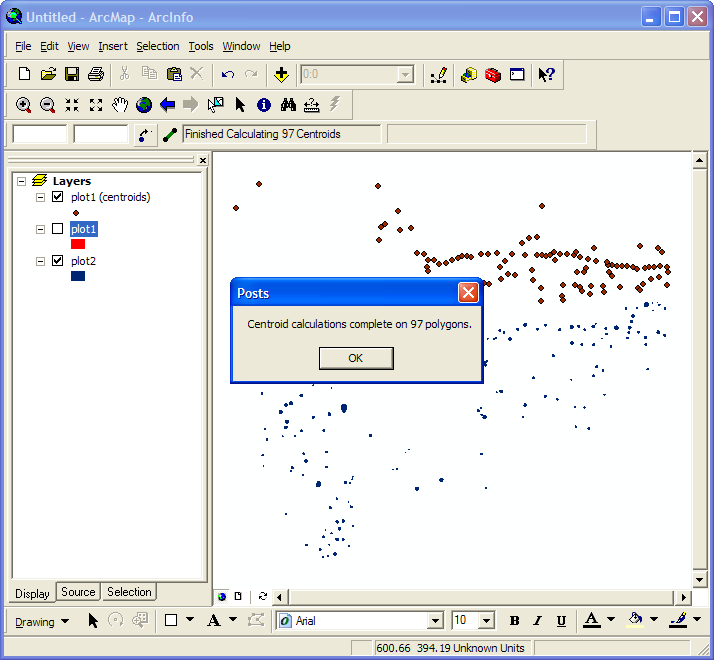
Once the calculations are complete, the newly created layer will appear (with its own custom, descriptive title). The original layer has not been destroyed, but has simply had its visibility turned off. This can be turned back on by clicking the little check box next to the layer. Lastly, a window pops up to let you know that the calculations are complete:
Troubleshooting:
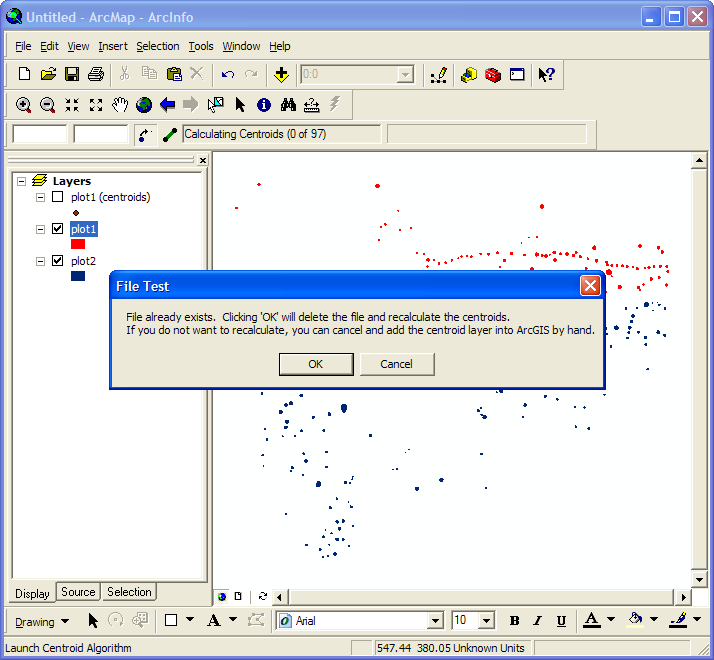
Because centroid creation can take a long time on large files, the toolbar checks to make sure that a centroid file matching the polygon layer you have selected already exists. If one does, it prompts you as to whether or not you want to keep that file or re-generate the centroids. If you have changed the polygon layer or the centroid layer, it is a good idea to re-generate the centroids because a file is saved when you create the centroids that is important for the linkage function. Thus, if you dont recalculate now, you might get erroneous data later:
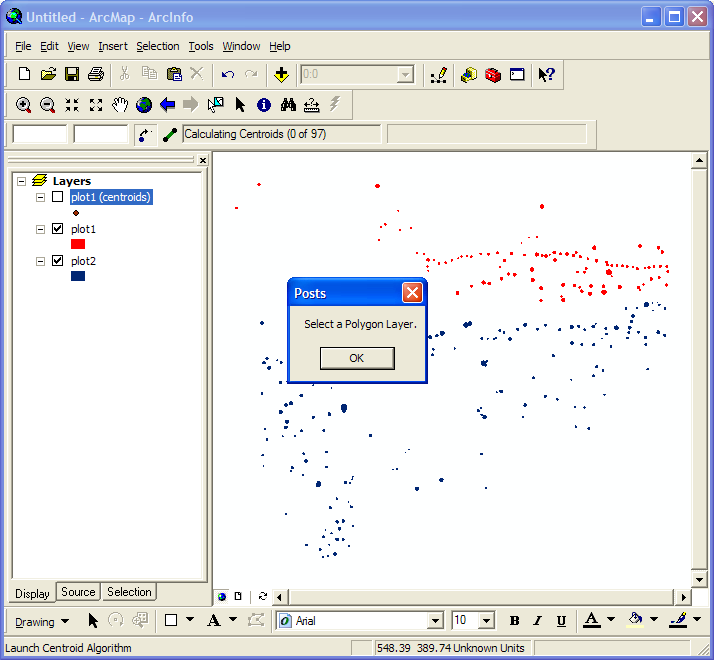
Because centroid creation only works on polygon layers, the button won't let you have a non-polygon layer selected. Usually this only appears when the user wants to run centroids on a certain layer, but forgets to select it after playing with another layer:
Mastered the Centroid Button? Try Using the Linkage Button.